A Simple Weather Observation Kit Without a Buying Guide
You do not need a shopping list to begin observing weather. A useful starter kit can be made from things you already have, as long as each item has a clear role and an equally clear limit. The aim is not to imi
You do not need a shopping list to begin observing weather. A useful starter kit can be made from things you already have, as long as each item has a clear role and an equally clear limit. The aim is not to imitate a professional station. It is to preserve what you saw, when you saw it, and what the tool could not establish.
Start with an eligibility rule
Include an item only if it passes four tests:
- You already own it or can use it safely without a purchase decision.
- You can describe the observation task it supports.
- You can state what it does not measure.
- You can record the time, place, and limitation alongside the result.
This rule keeps the kit from turning into a product catalogue. It also stops a familiar object from acquiring a precision it does not have.
The smallest usable session can be very modest: one time source, one place description, one visible cue, and one sentence about what remains unknown. Add an item only when it improves one of those fields or answers a distinct observation question. A larger pile of objects is not automatically a better record.
The three-item core
Notebook or notes app: preserve the evidence
Use it for the time, place, viewing direction, visible cue, method, and uncertainty. A notebook does not measure temperature or wind; it preserves the context around an observation.
Write “17:40 local, east-facing window, small flag extended briefly, upper view partly blocked” rather than “windy.” The second entry is shorter but loses the evidence a later reader would need.
Clock: anchor the observation
A clock gives the record a time sequence. It does not make the observation synchronized to an official network, and a device clock may be wrong. If you are comparing two notes, record the clock or time source you used and keep the same convention.
The Met Office’s observing guidance treats observation as a method-based activity. A timestamp is one part of that method, not a guarantee that two devices agree to the second.
Compass or orientation aid: label direction
An ordinary compass, map, or fixed landmark can help you label where you were looking. It does not automatically tell you the wind-from direction. A flag pointing east tells you where the flag extends; translating that into wind direction requires a stated convention and a cue you can defend.
Use the orientation aid to write “looking east” or “shed west of the observer,” then keep the wind-direction inference separate. The existing wind-direction guide owns that convention.
Optional items when they are already available
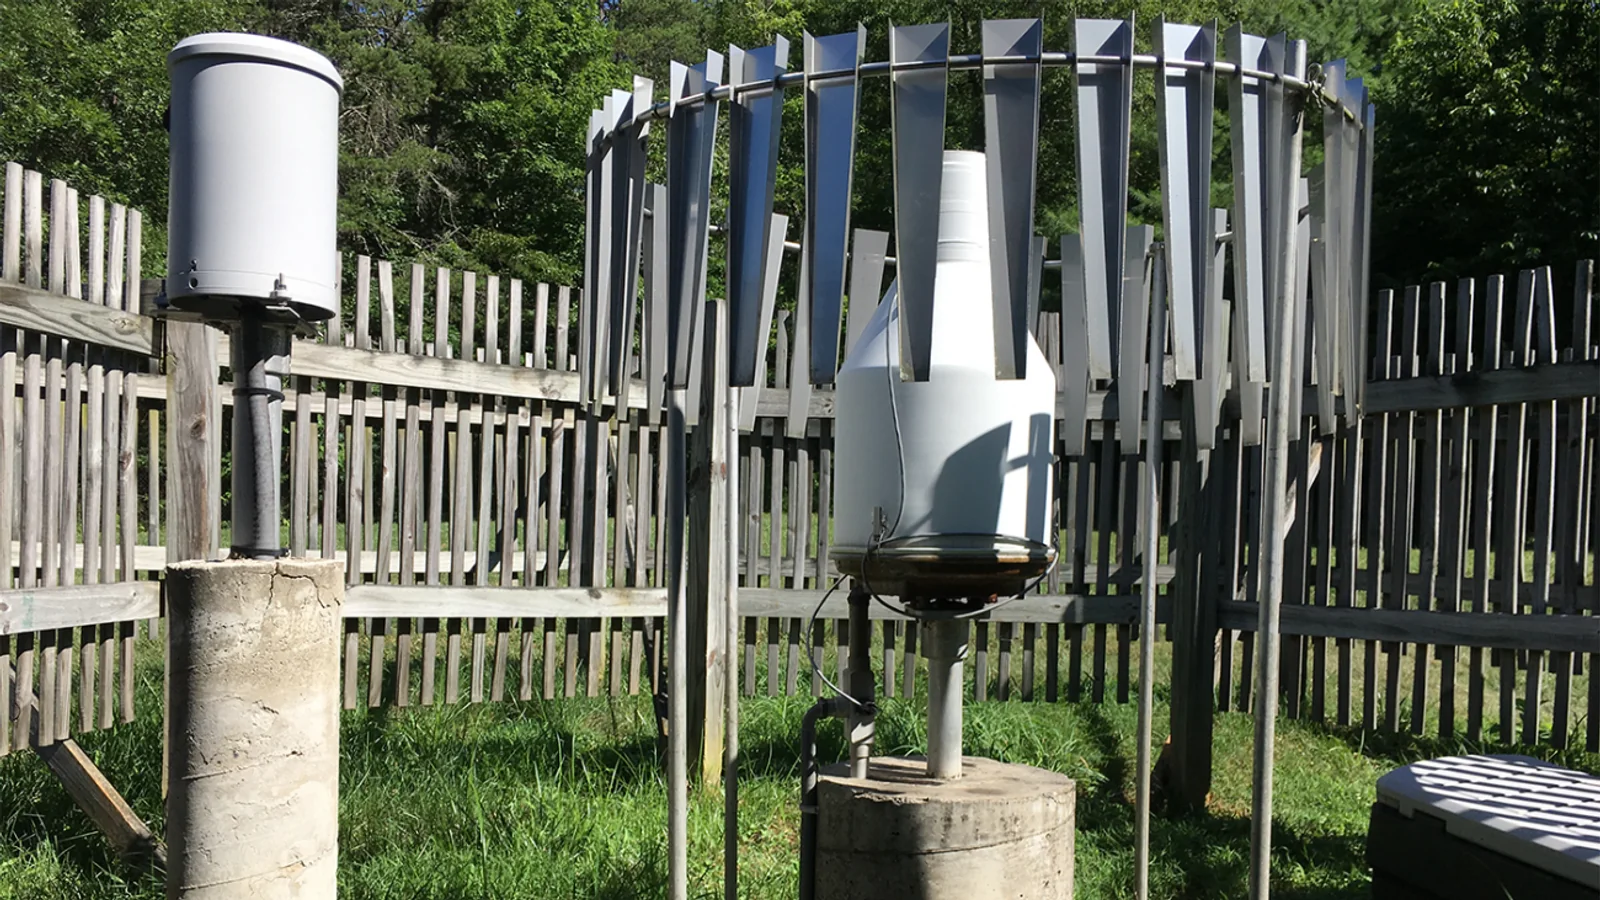
Existing rain gauge: support a rainfall record
If you already have a rain gauge, it can support a rainfall observation when you follow the relevant reading method and record the time window. It does not make the rest of the kit a calibrated station, and it cannot tell you what fell outside the gauge.
Use How to Measure Rainfall at Home for the measurement procedure. In this kit, the gauge’s role is narrow: it supports a precipitation field, while the notebook preserves the surrounding conditions.
Camera or phone: preserve site context
A camera can show the view, nearby obstacles, cloud gaps, or the position of a gauge. It does not prove the wind speed, cloud base, or rainfall amount. Photograph from a safe position and add the time and direction to the note; an image separated from its caption quickly loses value.
A simple visual cue aid
Loose paper, a flag already in place, moving leaves, or smoke can provide a qualitative cue. The cue describes visible movement; it is not an instrument reading. The Met Office’s educational activity also describes making a homemade anemometer, but a homemade device should remain an experiment or rough indicator unless you have a documented method and validation.
A role-and-limit kit card
| Item | Role | What it cannot establish | First-use note |
|---|---|---|---|
| Notebook | Keep fields together | It does not measure a variable | Write time, place, cue, and unknowns |
| Clock | Anchor sequence | It does not guarantee network synchronization | Use one time convention for the session |
| Compass/orientation aid | Label view and site layout | It does not prove wind-from direction | Record the viewing direction separately |
| Existing rain gauge | Support a rainfall amount | It does not represent every nearby location | Record the interval and reading method |
| Camera/phone | Preserve context | It does not measure speed or amount by itself | Add time, direction, and a caption |
| Visual cue | Describe movement | It is not a numerical reading | Name the object and the duration |
The card is deliberately unranked. No item is “best”; each item answers a different observation question.
A completed first-use note
Here is a hypothetical five-minute session using only the core kit and a phone camera:
> 18:10 local — back garden, looking east. Notebook and phone clock used; no instrument reading taken. Leaves on the exposed hedge moved continuously, while the sheltered courtyard showed little movement. A photo captured the view from the same standing position. Exact wind speed, wind-from direction, and regional conditions were not determined.
This note is useful because it keeps the evidence types separate. The camera preserves context, the clock anchors the sequence, and the notebook states what remains unknown. Nothing in the entry claims that the hedge movement is a measured speed.
When the simple kit is not enough
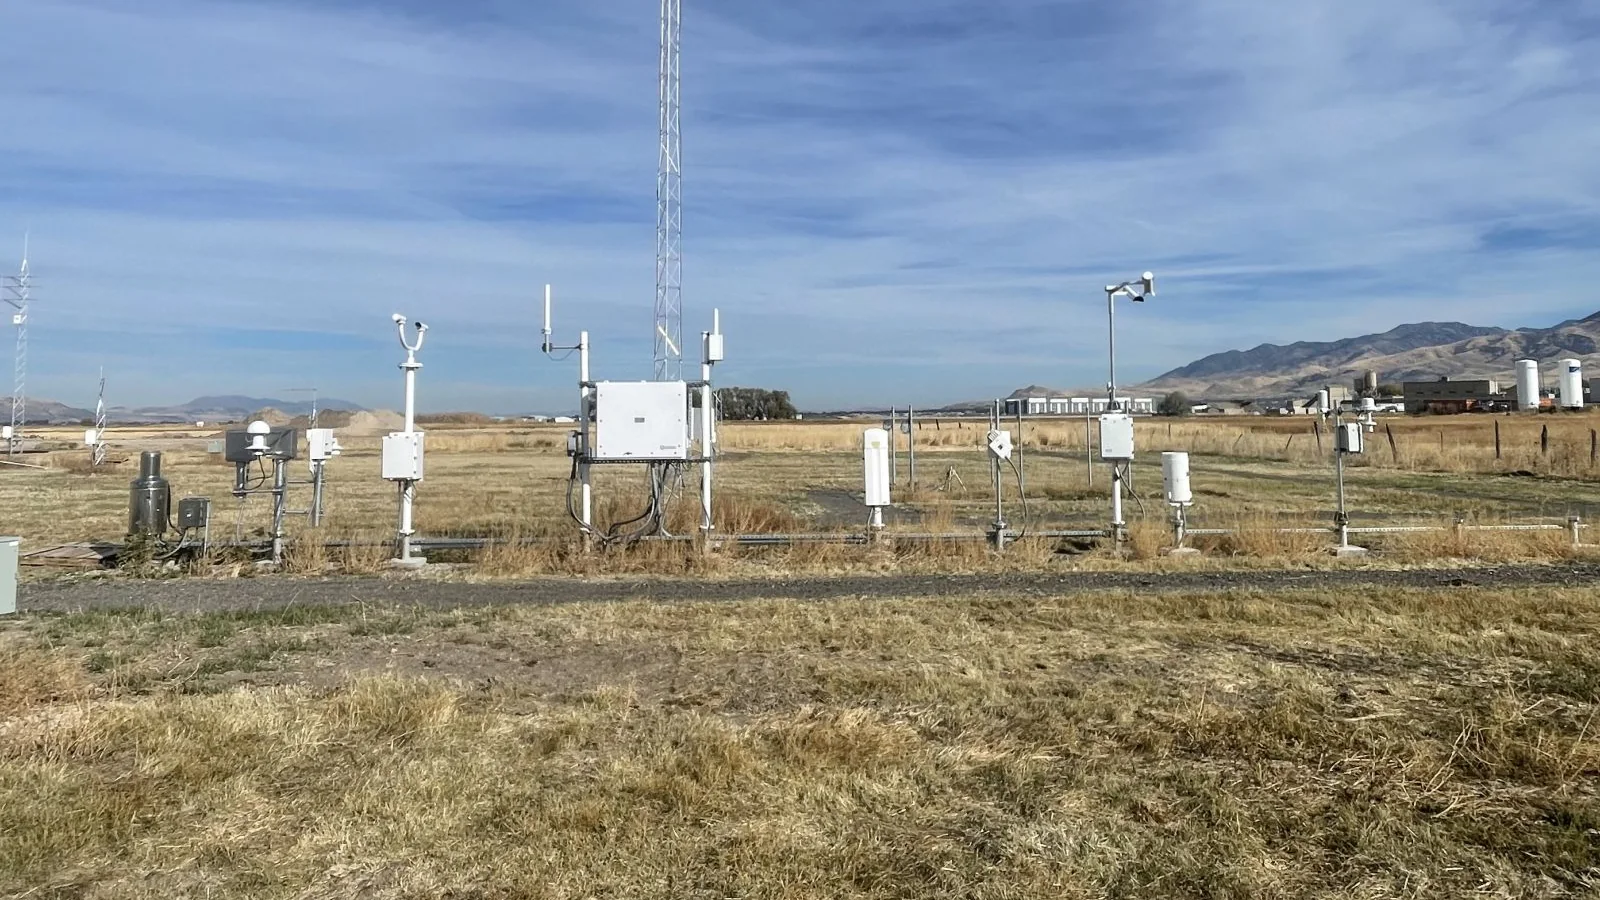
Add a tool only when a specific question requires it. If you need a station-quality plausibility check, use How to Check Whether a Home Weather Station Is Measuring Well. If you need a site-context record, use How to Record Your Weather Sensor Location and Exposure.
If you plan to submit observations to a structured programme, read that programme’s current instructions before treating your home kit as eligible. The CoCoRaHS quality-control guidance describes programme-specific training, date/time checks, comments, and follow-up for questionable entries. Those procedures show why documentation matters; they do not turn every household item into a CoCoRaHS instrument.
Stop when the question becomes “Which product should I buy?” or “Can this note support an official warning?” Those are different tasks. Keep the simple kit for observation, record its limits, and use the relevant official or programme guidance for the next decision.